 0
0
 22 March 2018, 11:00:00 am AEDT
 2 min
2 min

 0
22 March 2018, 11:00:00 am AEDT
2 min
0
22 March 2018, 11:00:00 am AEDT
2 min

One of the major challenges of promoting code to successive instances is packaging the code for promotion and finding a slot for downtime. Not to mention the sequence of steps required to carry out the procedures and to communicate to one and all about the impending downtime. ...
One of the major challenges of promoting code to successive instances is packaging the code for promotion and finding a slot for downtime. Not to mention the sequence of steps required to carry out the procedures and to communicate to one and all about the impending downtime. Adding to this difficulty is finding downtime when users are accessing the application from across the globe.So irrespective of deployment size, either major or minor, the deployment process is never going to be easy. However you can potentially overcome this using one of the TM1 Suite tools.
To achieve this the following are prerequisites, TM1 Performance Modeler should be installed and source & target should be configured to access TM1 Performance Modeler.
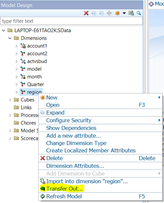
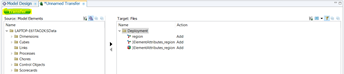
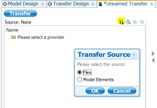
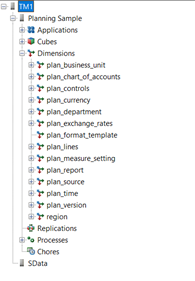
Let’s take an example of moving “Region” dimension from “SData” to “Planning Sample” using TM1 Performance Modeler.

Sasidaran has 10 years of experience in Information Technology industry. He has worked as a developer to build Data warehouses across multiple industries. During this time, Sasidaran has had exposure to numerous Data warehouse tools like Informatica, Cognos BI, Business Objects and database tools like Oracle and SQL Server.
 print
print


Leave a comment